목차
Windows 10 usb install
※ Write under the assumption that you have a window 10 boot disk.
Assume that os is window 10 pro.
First of all, you have to change the booting order of the computer.
After booting the computer, you can enter the bios (Basic Input/Output System) and change the settings -> The BIOS entry method varies from manufacturer to manufacturer, but you can google it.
"Laptop model name bios". Like this.
After booting, f2 hits, f8 hits, etc.
※ windows 10 부팅 디스크가 있다는 가정하에 기입
os는 window 10 pro로 가정
우선 제일먼저 컴퓨터의 부팅순서를 변경해야 합니다.
컴퓨터 부팅 후 bios(BIOS; Basic Input/Output System) 진입 해서 설정 변경 가능 -> BIOS 진입방법은 제조사 마다 다른데 구글링하면 됩니다.
"'노트북 모델명' bios" 이런식으로 검색
보통 부팅 후 f2 연타, f8 연타 등등임
BIOS example image.
BIOS 예시 이미지

After entering the bios, change the boot order priority to USB as shown below.
바이오스 진입 후 아래처럼 부팅 순서 우선순위를 USB로 변경
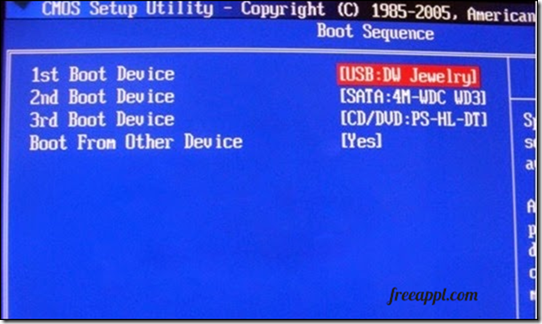
Change the booting order to USB, save the changes, and reboot.
부팅 순서를 USB로 변경, 변경내용 저장 후 리부팅

If the booting order is changed normally, the window installation screen will be displayed as below.
부팅순서가 정상적으로 변경 되었을 경우 잠시 후 아래처럼 윈도우 설치 화면이 표시됨
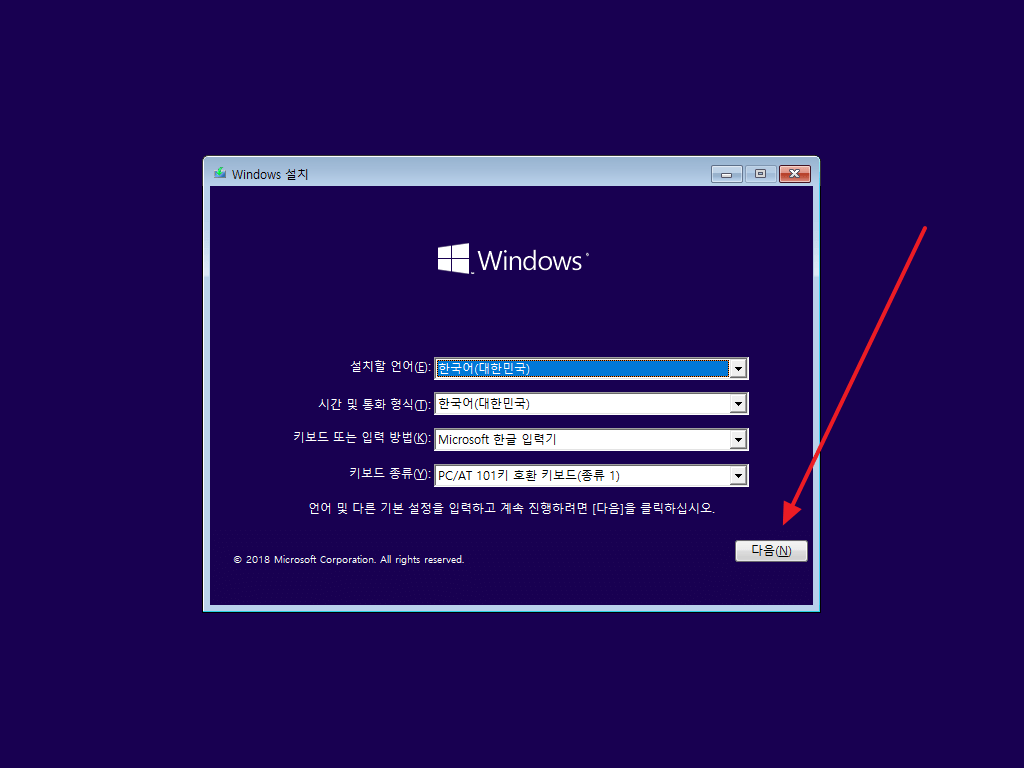
Choose the installation now.
지금설치 선택

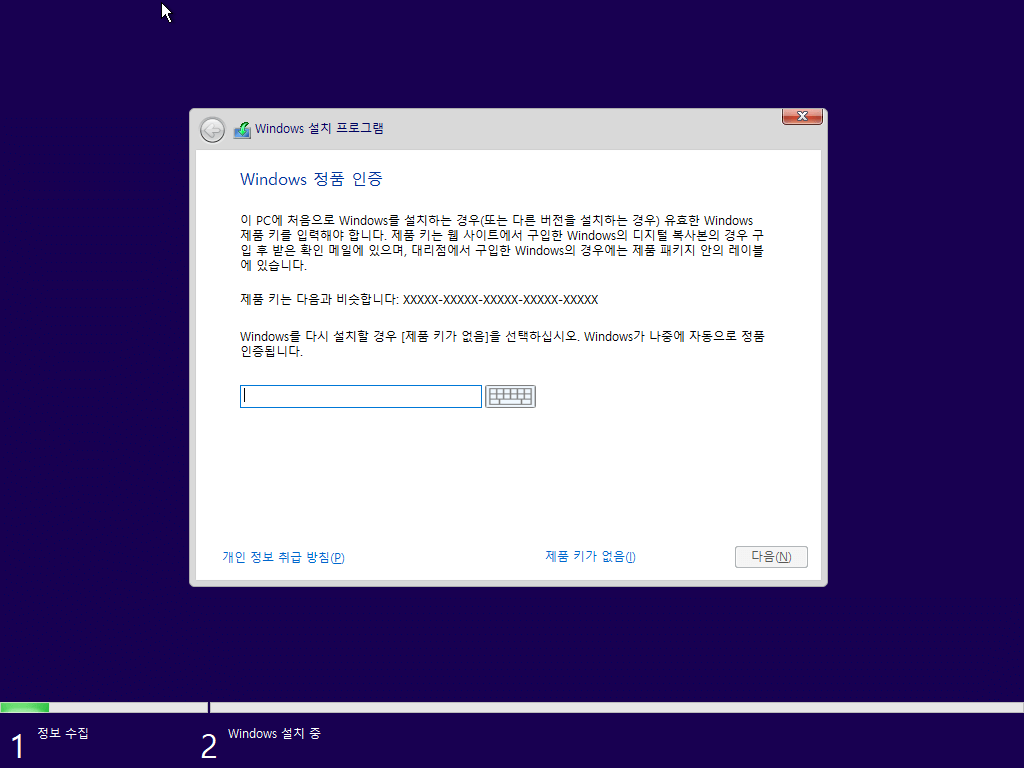
After installing the window, I'm going to activate it, so select "No product key".
윈도우 설치 후 정품인증 할 것이므로 제품키가 없음 선택
Select the type of window to install -> Select Windows 10 pro.
설치할 윈도우 종류 선택 -> 윈도우10 pro 선택

I agree to the terms of use.
사용조건 동의

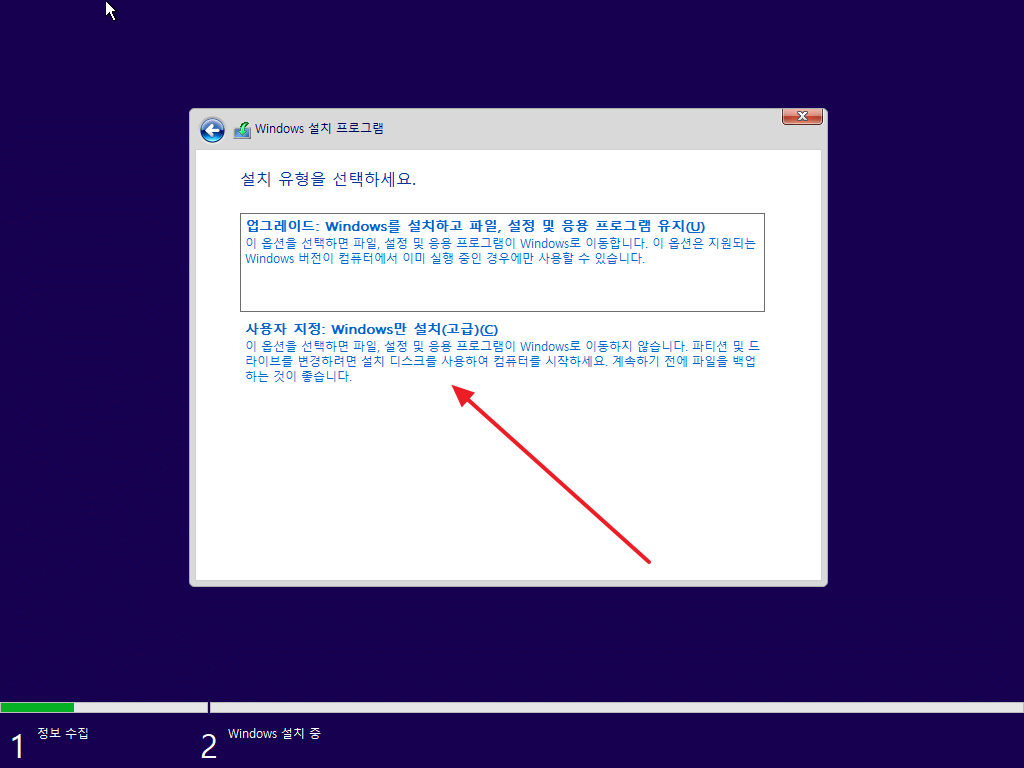
Custom: Select installation of windowwos only.
사용자 지정 : windwos만 설치 선택
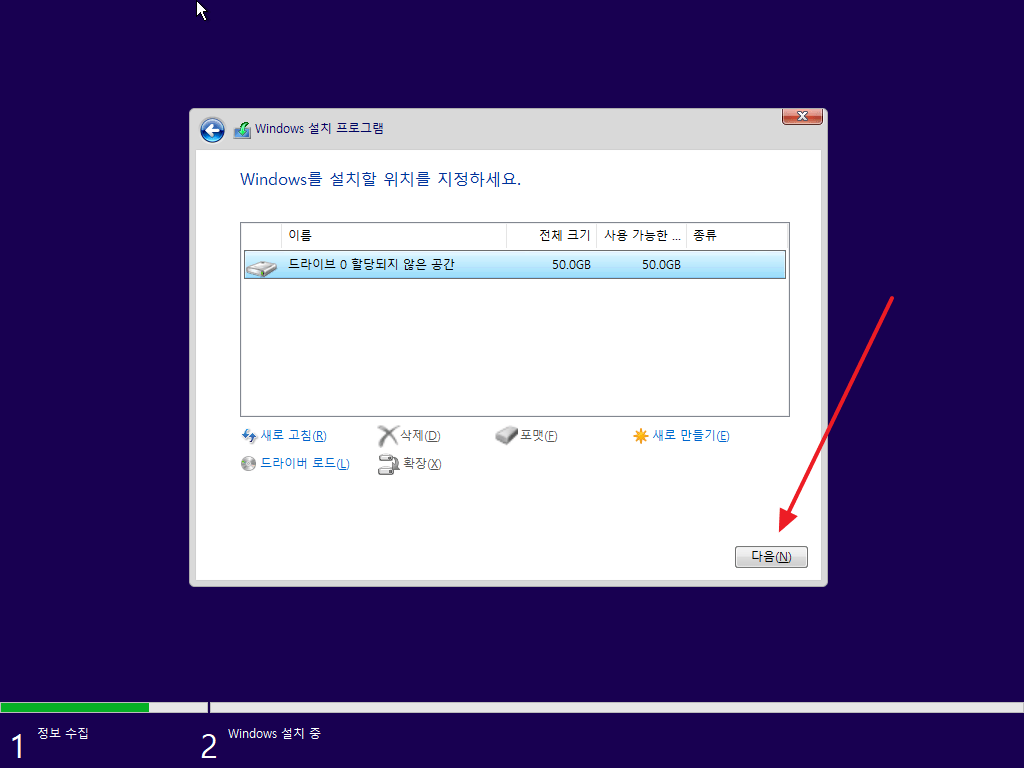
Set a partition (if there is no partition, you can create a new one, assign it, google it) and select the next one.
These days, most computers are SSD, so you need to install windows on the C drive.
파티션 설정(파티션이 없을 경우 새로 생성 후 할당, 구글링하면 됨) 후 다음 선택
요즘 컴퓨터는 대부분 SSD라서 C드라이브에 윈도우 설치해야 함
Window installation is in progress (depending on computer specifications, but it doesn't take that long)
윈도우 설치가 진행됨(컴퓨터 사양에 따라 다르지만 그렇게 오래 안 걸림)

Rebooted after installation.
설치 완료 후 재부팅 됨

Now that Windows OS is installed, it doesn't matter if you remove USB.
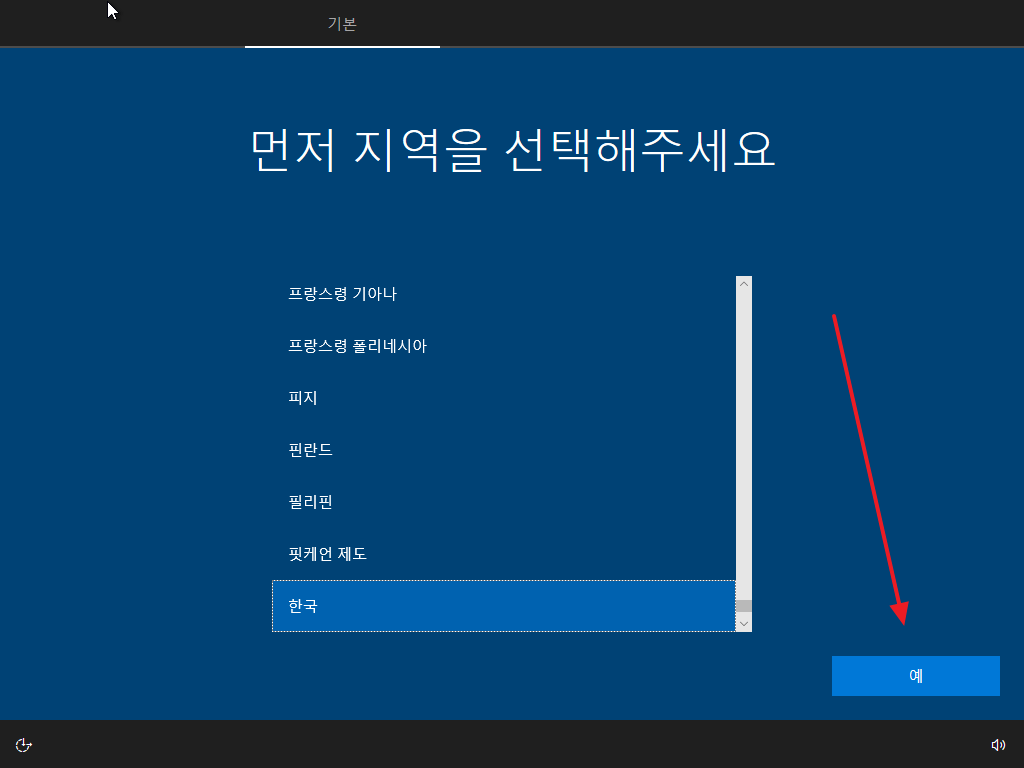
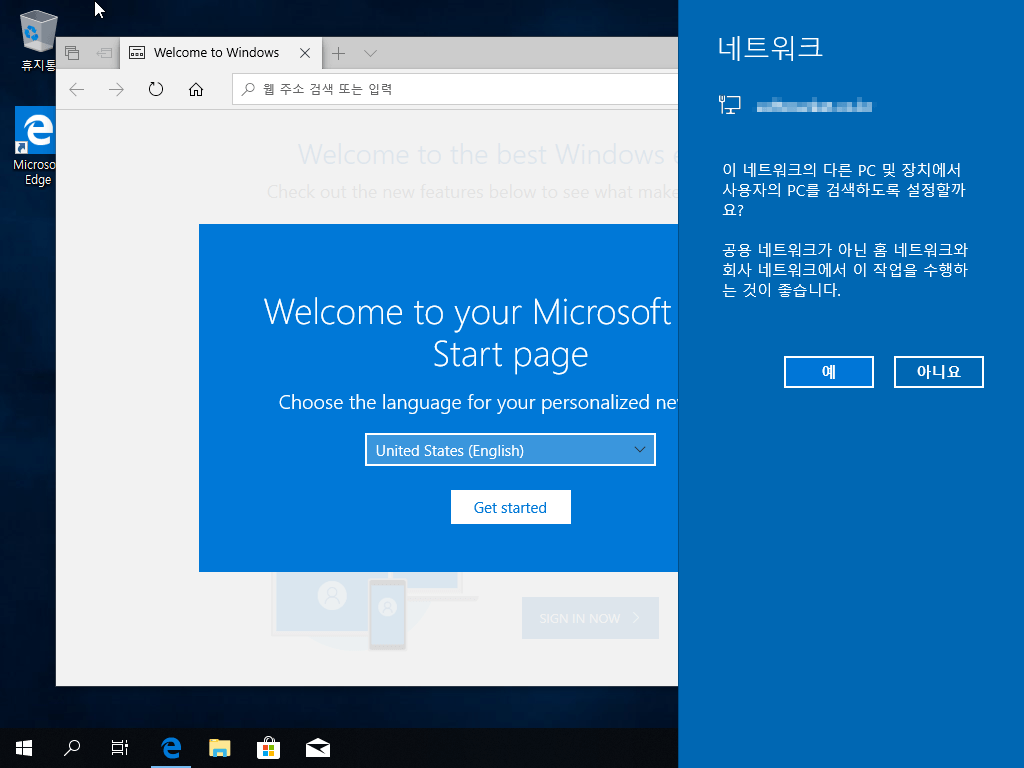
After rebooting, the window setting screen is displayed as below (select region).
이제 윈도우 OS는 설치 되었기 때문에 USB는 제거해도 상관 없음
재부팅 후 아래처럼 윈도우 설정 화면이 표시됨(지역 선택)
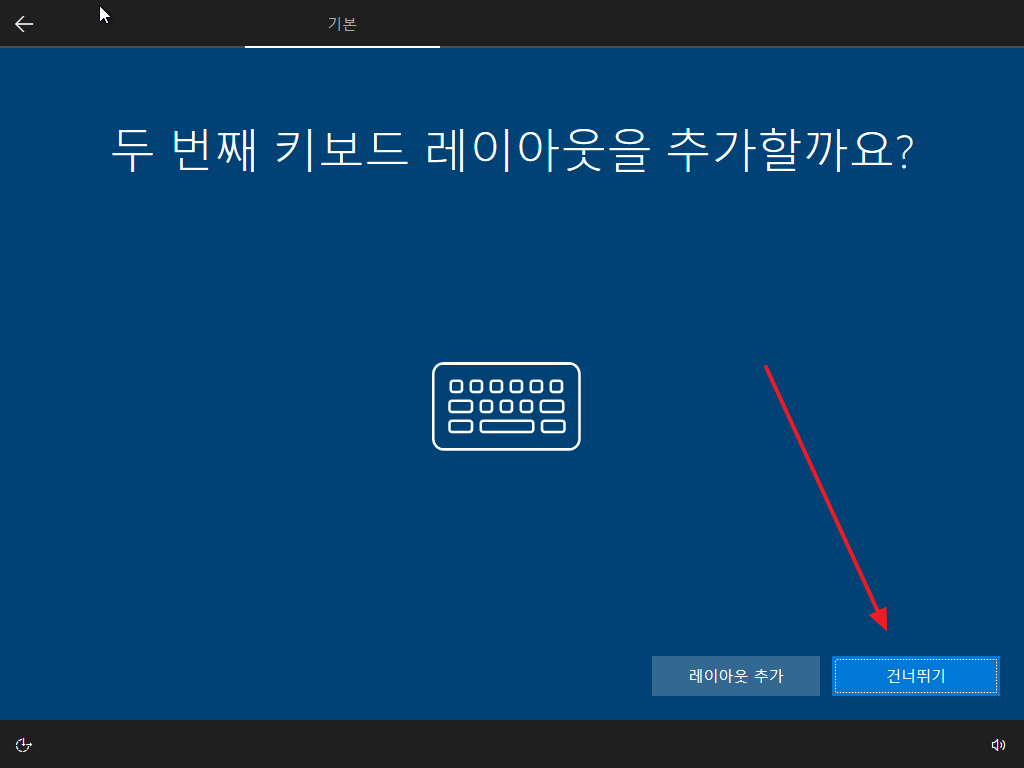
Choose keyboard keyboard arrangement.
키보드 자판배열 선택

Skip the keyboard layout.
키보드 레이아웃은 건너뛰기
Choose as your personal setting (in my case)
개인용 설정으로 선택(내 경우)

(At first, just creating offline,) Create an Account.
계정 생성(처음엔 그냥 오프라인으로 생성)

Specify a user name.
사용자 이름 지정

Designating a password.
비밀번호 지정

Specify a formal security question.
형식적인 보안질문 지정

No, choose.
아니오 선택
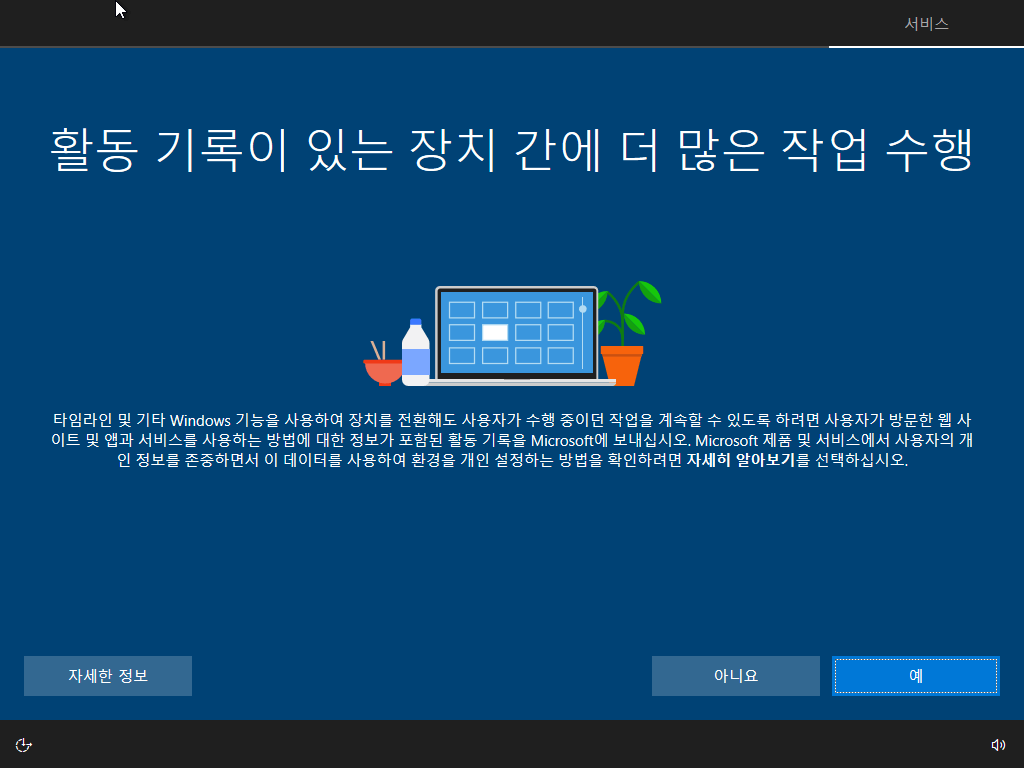
It's useless. Uncheck and accept.
별 쓸데없는 것이기에 모두 체크 해제 후 수락

Window 10 has started.
윈도우10이 시작됨
The installation process may not be the same as the image above, for reference.
You can use it after setting up the Internet, installing other utilities, and activating Windows 10.
설치과정이 위 이미지와 동일하지는 않을 수 있음, 참조용임
인터넷 설정 및 기타 유틸리티 설치 및 윈도우10 정품인증을 받고 사용하면 됩니다.

'IT > ETC' 카테고리의 다른 글
| [IT] SW사업 대가산정 기능(FP)점수 산정방식(EI, EO, EQ, ILF, EIF) (3) | 2022.11.21 |
|---|---|
| [windows 10] "이 하드 디스크 공간에 Windows를 설치할 수 없습니다."... (0) | 2022.11.21 |
| [windows]Turn off window 10 update/윈도우 10 업데이트 끄기 (0) | 2022.11.21 |
| [linux] linux 파일 생성 날짜 확인(feat. ls 확장 옵션) (0) | 2022.11.19 |
| [linux]systemctl start 에러 시행착오 (0) | 2022.11.19 |

댓글